Plastering Recommendations from Professionals: Best Practices for Success
Plastering Recommendations from Professionals: Best Practices for Success
Blog Article
Trick Tips and Devices for Effective Plastering in Your Home Enhancement Undertakings
Attaining a remarkable plaster finish in your house renovation jobs needs a mix of the right devices and tried and tested methods. Crucial carries out such as the hawk and trowel are critical for reliable application, while proper surface prep work lays the structure for success. Furthermore, understanding the subtleties of blending plaster and using it in thin layers can dramatically influence the final outcome. As we explore these essential elements, it becomes obvious that preventing common risks can elevate your plastering skills-- guaranteeing your next job not only meets but exceeds assumptions.
Crucial Smudging Tools
A plasterer's toolkit is essential to attaining a smooth and sturdy surface on walls and ceilings. The necessary devices incorporate a variety of executes developed to facilitate the plastering procedure effectively and properly. Key components include a hawk, which is a flat, square device utilized to hold the plaster while using it to surfaces. This device enables simple transport and application of the product.
Furthermore, a blending pail is needed for preparing plaster, guaranteeing the best uniformity prior to application. A plastering brush or sponge works for smoothing and finishing touches out appearances. Lastly, security devices such as masks and gloves must be included to protect the user from dust and chemicals. Together, these crucial plastering devices enable both specialists and DIY fanatics to achieve top notch cause their plastering jobs.
Surface Prep Work Strategies
Correctly preparing the surface prior to smudging is vital for guaranteeing adhesion and achieving a flawless coating. The very first step involves cleaning up the surface area to eliminate any dust, oil, or old paint that may prevent the plaster's ability to bond effectively. A comprehensive clean with a suitable cleansing option is recommended, adhered to by rinsing and permitting the surface area to completely dry completely.
Next, assess the surface for any type of fractures or blemishes. These need to be full of an ideal filler substance and enabled to cure according to the manufacturer's guidelines. For permeable surface areas, applying a guide is important to improve and create a consistent structure adhesion.
Additionally, it is essential to make certain that the surface is stable and structurally audio. Any type of loose products, such as flaking paint or damaged drywall, must be fixed or removed. Take into consideration utilizing a scrape coat to improve hold. if working with stonework surfaces.
Combining Plaster Like a Pro

Utilizing a clean blending container, pour the water initially, then slowly add the plaster powder while mixing constantly - Plastering. This method aids to stop clumping and guarantees an also distribution of materials. A mechanical mixer can be advantageous, saving and giving consistent results time. Go for a velvety, lump-free uniformity that enables very easy dispersing but is thick sufficient to hold its form without running.
When combined, allow the plaster to rest for a few minutes to allow the plaster crystals to hydrate completely. This pause boosts workability and reduces the danger of splitting during application. By following these steps, you can mix plaster like a pro, establishing the structure for a successful gluing project in your house improvement endeavors.
Application Techniques for Smooth Finishes
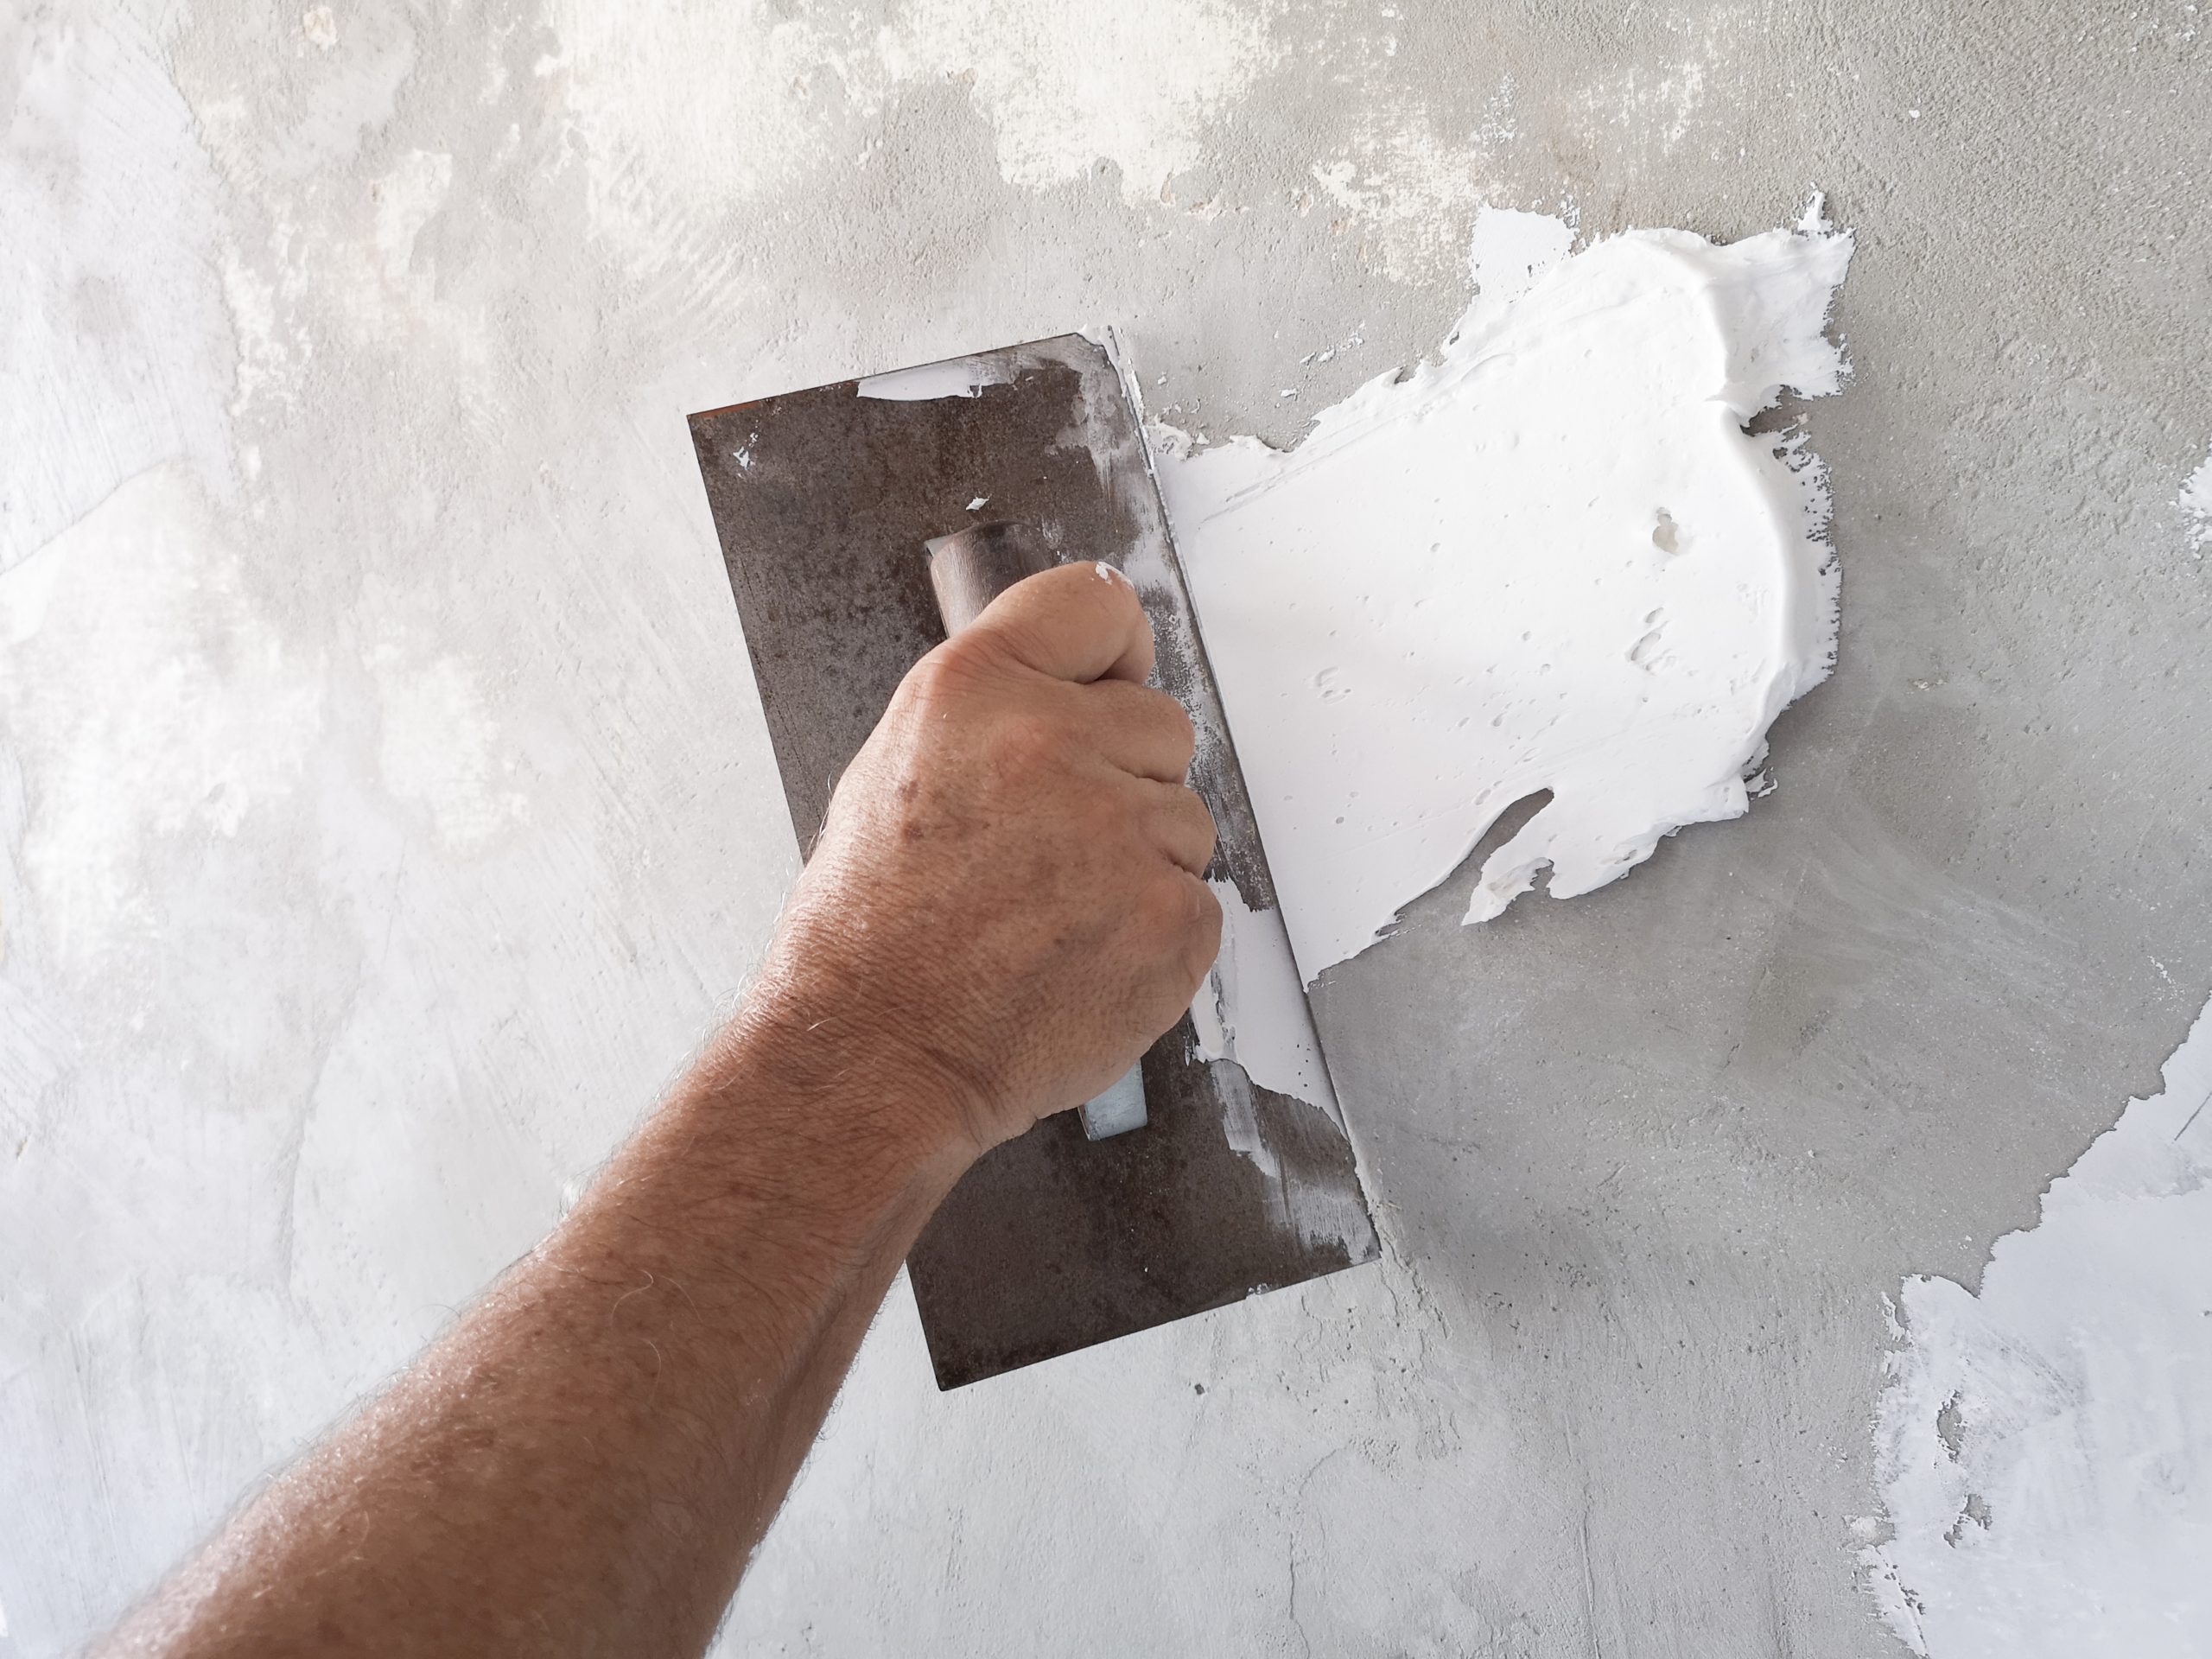
With the plaster mix prepared to the optimal uniformity, the following action includes selecting proper application techniques to accomplish a smooth surface. The selection of application devices significantly affects the last appearance of the plastered surface. For optimal results, a stainless-steel trowel is generally suggested. This tool permits a penalty, also distribution of plaster across the surface while decreasing trowel marks - Plastering.
Begin by using a charitable amount of plaster to the surface making use of the trowel, guaranteeing it adheres well. Employ a systematic approach, working from the lower upward. As soon as the first layer is used, utilize a sweeping motion to smooth the surface area, applying even pressure. In areas that need more precise attention, think about using a float, which can help get rid of any kind of flaws and produce a consistent texture.
For the final touches, a moist sponge can be utilized to refine the surface area additionally. Gently haze the plaster with water and gently massage the surface to accomplish a refined effect. Always keep in mind to operate in little sections to maintain control over the application process, making sure a smooth, professional surface throughout your plastering project.
Typical Errors to Prevent
When getting started on a gluing task, avoiding typical blunders is essential for achieving a flawless coating. Guarantee that all dirt, oil, and loosened products are removed prior to applying plaster.
One more usual error is applying plaster too informative post thickly. Thick layers can fracture as they dry out, endangering the integrity of the surface. Instead, go with several slim layers, permitting each coat to completely dry entirely prior to using the following.
Additionally, poor mixing methods can lead to irregular structure and workability. Constantly follow the supplier's instructions for see it here blending proportions and thoroughly blend the plaster to achieve an uniform consistency.
Timing additionally plays a crucial function; plaster must be applied while the substratum perspires to boost bond. Last but not least, prevent utilizing inappropriate devices. Premium trowels and drifts can make a considerable distinction in attaining a smooth surface. By avoiding these common challenges, you can boost the top quality and durability of your plastering job, bring about a more expert lead to your home improvement endeavors.
Final Thought
Reliable smudging requires a comprehensive understanding of crucial tools and methods. Mastery of these aspects not only adds to the aesthetic allure of an area however also ensures resilience and longevity in smudging tasks, making them indispensable to successful home improvement ventures.
A float is another vital tool, which helps in leveling the plaster and achieving an uniform surface area.

By complying with these steps, you can blend plaster like a professional, establishing the foundation for an effective smudging job in your home improvement undertakings.
Gently mist the plaster with water and carefully scrub the surface to accomplish a sleek impact.
Report this page